
HestiaCP: Installing the Free Hosting Control Panel
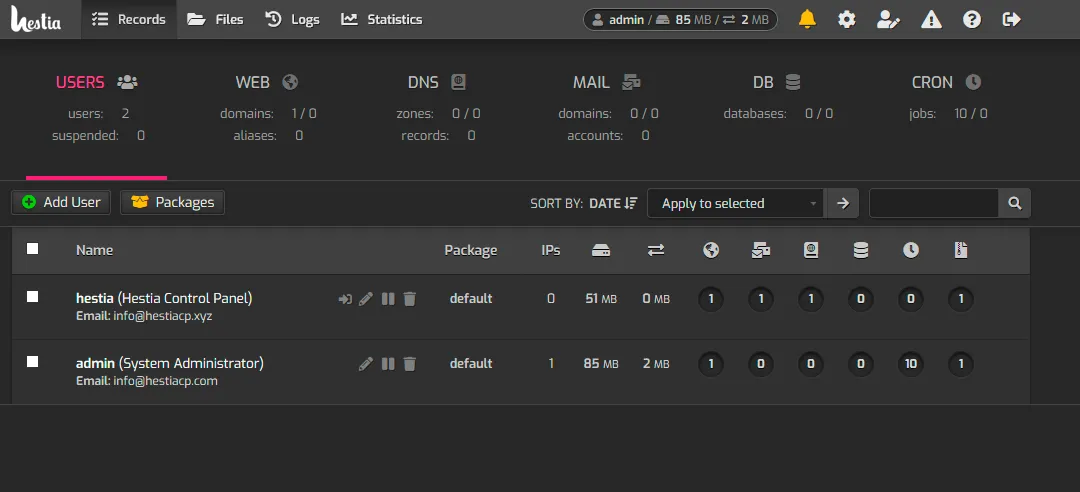
HestiaCP is a free, open-source hosting control panel, the successor to the VestaCP project. Through a web interface it manages sites, databases, mail, DNS and backups. It is a convenient choice when you need to host several sites on one VPS without configuring every service by hand.
What the panel includes
- the Nginx web server on its own or in front of Apache, with several PHP versions side by side;
- MariaDB, MySQL or PostgreSQL databases;
- an Exim and Dovecot mail server with spam protection and webmail;
- the Bind DNS server;
- free Let’s Encrypt SSL certificates, including wildcards;
- a file manager, scheduled backups and a firewall with Fail2Ban.
Requirements
- a clean system with no web servers or databases installed: Debian 11, 12, 13 or Ubuntu 22.04, 24.04, 26.04 LTS;
- 1 GB of RAM or more (4 GB or more with antivirus and antispam) and 10 GB of disk;
- root access;
- a fully qualified server name, for example
panel.example.com, with an A record pointing to the server’s IP address.
Installation
Connect to the server over SSH as root and download the installer:
wget https://raw.githubusercontent.com/hestiacp/hestiacp/release/install/hst-install.shRun it with the defaults:
bash hst-install.shMore often it is convenient to pass the server name, the administrator’s email and a password right away:
bash hst-install.sh --hostname panel.example.com --email admin@example.com --password 'a_strong_password'The set of components is controlled with flags. For example, without the DNS server and antivirus — which saves a lot of memory:
bash hst-install.sh --hostname panel.example.com --email admin@example.com --named no --clamav nobash hst-install.sh -h lists every available flag.
The installer shows the component list and asks for confirmation. Installation takes 10–15 minutes. At the end the panel address, login and password are printed — save them.
First login
The panel is available at:
https://panel.example.com:8083If the password is lost, set a new one from the shell:
v-change-user-password admin 'new_password'First steps
Create a separate user
The administrator account is for managing the server. Host sites under a regular user: Users → Add User.
Add a site
Log in as that user and open Web → Add Web Domain. Enter the domain — the panel creates the site directory, the web server configuration and the DNS zone. Site files go in /home/user/web/domain/public_html.
Enable SSL
In the domain settings tick Enable SSL for this domain and Use Let’s Encrypt to obtain SSL certificate. The certificate is issued and renewed automatically from then on.
Create a database and mail
Databases are created under DB, mail domains and mailboxes under Mail. To keep messages out of spam folders, set up DKIM and SPF records: see SPF, DKIM and DMARC in HestiaCP.
Managing from the shell
Everything the web interface does is also available on the command line — the commands start with v-:
v-list-users                         # list users
v-list-web-domains admin             # a user's sites
v-add-letsencrypt-domain admin example.com   # issue SSL for a site
v-backup-user admin                  # create a backup
v-update-sys-hestia-all              # update the panel
Security
- Open the panel port 8083 only to your own IP addresses: Server → Firewall.
- Enable two-factor authentication in the user profile.
- Regularly export backups off the server, for example to backup storage.
- Protect SSH access as well: see changing the SSH port and Fail2Ban.