
AdGuard Home on a VPS: Ad Blocking for All Your Devices
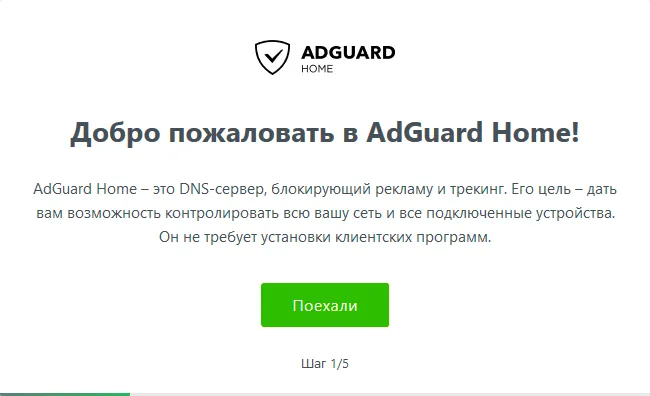
AdGuard Home is your own DNS server that blocks ads, trackers and malicious sites at the DNS level. Point a device or router at it and ads disappear in every app at once, with no extensions to install. On a VPS it is reachable from any network: at home, in the office and on mobile data.
How it works
When a device opens a site, it first asks a DNS server for its IP address. AdGuard Home checks every query against blocklists: advertising and tracking domains get an empty answer, everything else is passed on. It blocks what loads from separate domains; ads built into the site itself (for example in YouTube videos) cannot be removed this way.
What you need
- a VPS with 1 GB of RAM running Ubuntu or Debian;
- a domain or subdomain such as
dns.example.com— for encrypted DNS; - root access over SSH.
Step 1. Free port 53
On Ubuntu, port 53 is held by the systemd-resolved system service. Check:
sudo ss -tulnp | grep ':53 'If the port is in use, disable the built-in DNS stub listener:
sudo mkdir -p /etc/systemd/resolved.conf.d
printf '[Resolve]\nDNS=127.0.0.1\nDNSStubListener=no\n' | sudo tee /etc/systemd/resolved.conf.d/adguardhome.conf
sudo ln -sf /run/systemd/resolve/resolv.conf /etc/resolv.conf
sudo systemctl restart systemd-resolved
Step 2. Installation
The official script downloads the program and registers it as a system service:
curl -s -S -L https://raw.githubusercontent.com/AdguardTeam/AdGuardHome/master/scripts/install.sh | sh -s -- -vAdGuard Home is installed in /opt/AdGuardHome. Managing the service:
sudo /opt/AdGuardHome/AdGuardHome -s status
sudo /opt/AdGuardHome/AdGuardHome -s restart
Step 3. Initial setup
Open http://your-server-ip:3000 in a browser. The setup wizard asks you to:
- choose the interface and port for the admin panel (keep port 80 or pick another if a web server uses it);
- choose the interface for the DNS server, port 53;
- set the administrator login and password.
When you finish, the panel opens at the address you chose.
Step 4. Protect the server from strangers
This is the most important step for a server on the internet.
There are two reliable options.
Option 1: encrypted DNS only. Close port 53 in the firewall and connect devices through DNS-over-HTTPS or DNS-over-TLS (step 5). These protocols are unsuitable for amplification attacks and hide your queries from the ISP.
sudo ufw allow 22/tcp
sudo ufw allow 80/tcp
sudo ufw allow 443/tcp
sudo ufw allow 853/tcp
sudo ufw enable
Option 2: an allowlist of clients. In the panel open Settings → DNS settings → Access settings and list your IP addresses or subnets under Allowed clients. Queries from everyone else are refused. This works if you have a static IP address.
A third way is not to publish DNS at all and reach it through a VPN: run WireGuard on the same server and put the AdGuard Home address in the DNS parameter of the client configuration.
Step 5. Encrypted DNS
- Open Settings → Encryption settings and enable encryption.
- Enter the server name —
dns.example.com. - Add the certificate and private key. Get a free certificate with Certbot:
sudo apt install certbot
sudo certbot certonly --standalone -d dns.example.com
If port 80 is used by the AdGuard Home panel, stop the service while the certificate is issued or move the panel to another port. Certificate file paths:
/etc/letsencrypt/live/dns.example.com/fullchain.pem
/etc/letsencrypt/live/dns.example.com/privkey.pem
After saving, the server accepts queries at:
- DNS-over-HTTPS:
https://dns.example.com/dns-query - DNS-over-TLS:
dns.example.com
The certificate is valid for 90 days. Certbot renews it automatically; to make AdGuard Home pick up the new file, add a service restart to the renewal hook:
sudo certbot reconfigure --cert-name dns.example.com --deploy-hook "/opt/AdGuardHome/AdGuardHome -s restart"Step 6. Connect your devices
- Android. Settings → Network & internet → Private DNS → enter
dns.example.com. - iPhone and iPad. In the panel open Setup Guide → DNS Privacy, download the configuration profile and install it.
- Browsers. In the secure DNS settings choose a custom provider and enter the DNS-over-HTTPS address.
- Windows 11. Settings → Network & internet → connection properties → DNS server assignment; enter the server’s IP address and the DNS-over-HTTPS template.
- Router. If the firmware supports DoT or DoH, set the server there — the protection then covers every device on the home network.
The Query Log shows whether queries are going through your server.
Tuning the filtering
- Blocklists. The base AdGuard list is already enabled under Filters → DNS blocklists. Add regional lists for your country, but do not overdo it: more lists mean a higher risk of false positives.
- Allowlist. If a site or app stops working, find the blocked domain in the query log and click Unblock.
- Parental control and safe search are enabled under Settings → General settings.
- Upstream DNS servers. Under Settings → DNS settings enter encrypted servers such as
https://dns.quad9.net/dns-query, so queries between your server and the internet are protected as well.
Updates and backup
AdGuard Home is updated with a button in the admin panel. All settings are stored in /opt/AdGuardHome/AdGuardHome.yaml — keep a copy after setup.
Keep in mind
Your own DNS server hides your query history from the ISP and public DNS services, but now it is stored with you. The log retention period is set under Settings → General settings; if other people use the server, let them know that queries are recorded.